How to Join Granny Squares: 4 Methods Compared
Step-by-step instructions for four ways to join granny squares, sewn and crocheted, with a comparison table and advice on preparation, joining order and keeping seams flat.
Tutorial at a glance
Materials
- Finished, blocked granny squares
- Joining yarn in the same weight as the squares
- Blunt yarn needle (sewn joins)
- Crochet hook in the size used for the squares (crocheted joins)
- Scissors
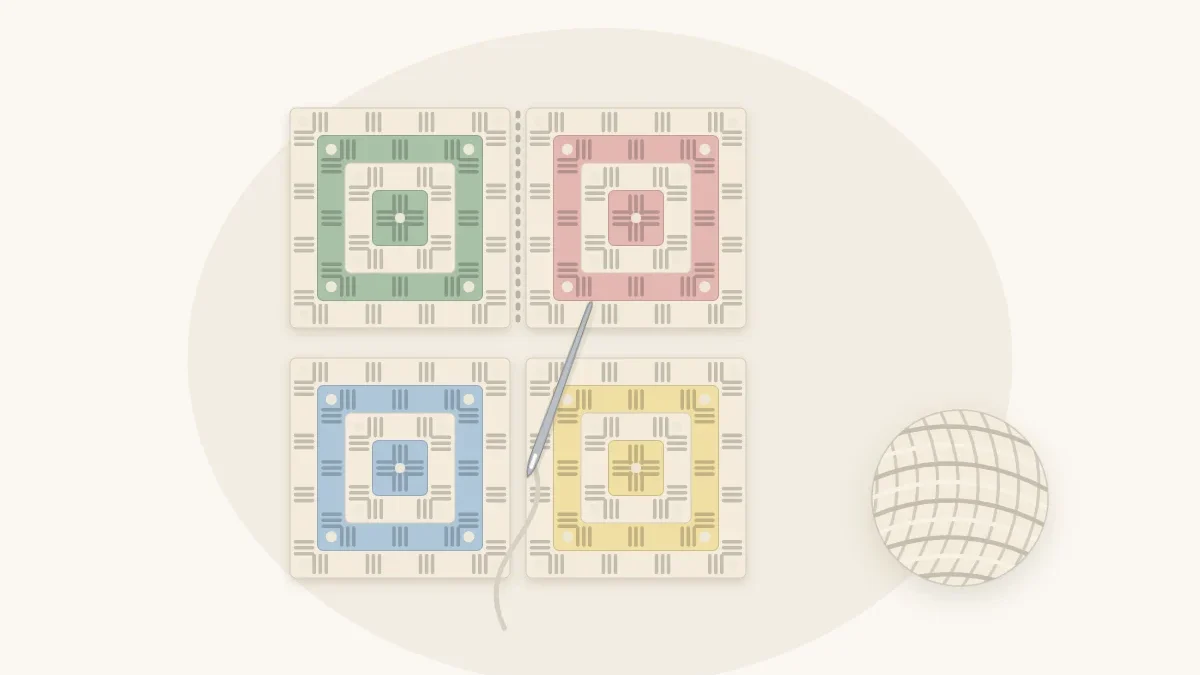
A stack of finished squares becomes a blanket only at the seams, and the seam you choose changes how the blanket looks and handles. There are four common ways to join granny squares: two sewn with a yarn needle and two worked with a crochet hook. None of them is hard, but each gives a different result.
The steps below assume plain squares with straight edges, such as the ones in the classic granny square blanket. Use the same yarn weight as the squares, in either a matching color or a deliberate contrast.
Prepare the Squares
Seams go wrong mostly because of what happened before the joining started. Three checks save a lot of ripping out.
- Same size. Measure every square. A square that is half an inch off will pucker or stretch its neighbors.
- Same edge count. Each edge should have the same number of stitches and chains. A four-round granny square has 12 double crochets and 3 chain-1 spaces per edge, between two chain-2 corners.
- Blocked and tidy. Weave in the tails, then block the squares to one measurement so the edges lie straight.
Lay all the squares out in their final arrangement on a table or the floor and look at the colors from a distance. Change anything you want to change now, then stack each row in order.
Method 1: Whip Stitch
Whip stitch is sewn with a blunt yarn needle and makes a flat, flexible seam. Cut a length of yarn about three times as long as the seam.
- Hold two squares with their right sides together and the edges to be joined on top.
- Starting in the corner chains, pass the needle through the outer loop only of each square: the back loop of the stitch nearest you and the back loop of the stitch farthest from you.
- Bring the yarn over the top of the edge and insert the needle in the next pair of loops, always from the same side.
- Continue to the next corner, treating each chain as a stitch.
Opened flat, the unused front loops form a thin raised line along each side of the seam on the right side, which frames the squares neatly.
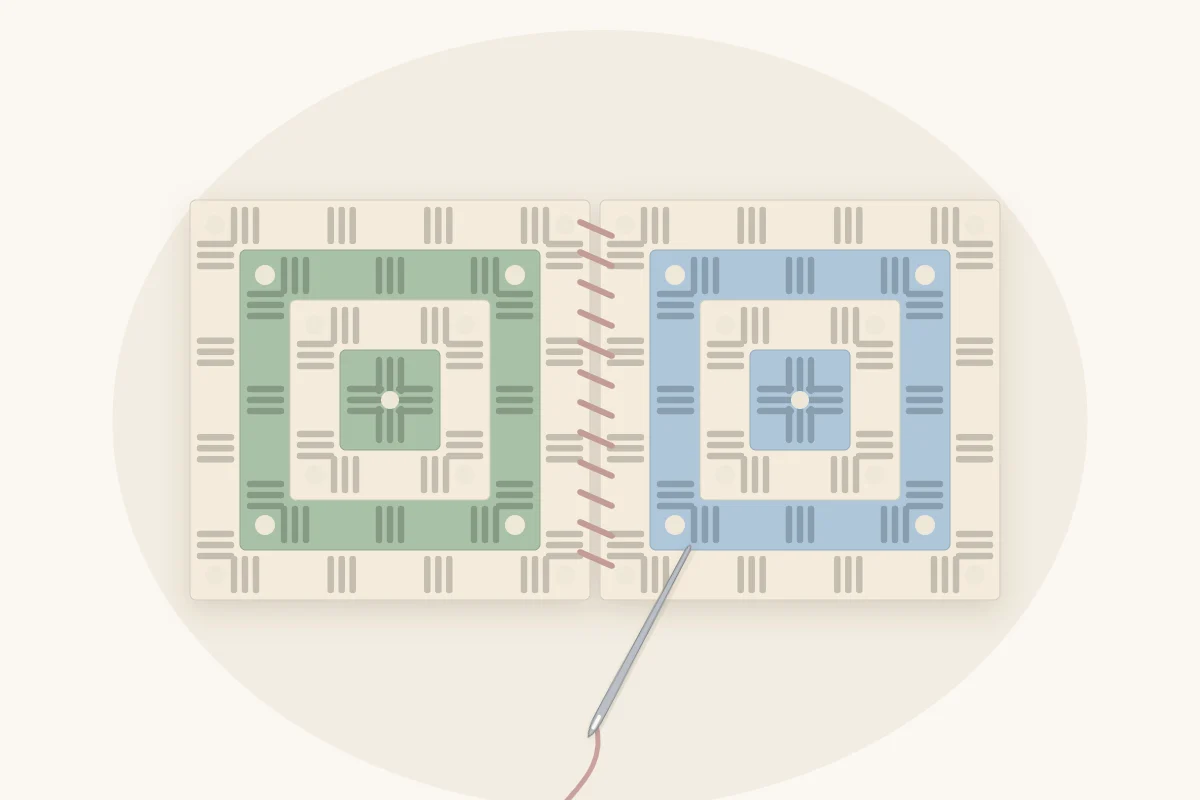
Method 2: Mattress Stitch
Mattress stitch, also called the invisible seam, is sewn with the squares lying flat, side by side, right sides up.
- Anchor the yarn in the corner of one square.
- Slide the needle under the outer loop of the first stitch on the other square, pointing away from you.
- Cross back and slide it under the matching loop on the first square. The yarn forms a ladder between the edges.
- After every four or five rungs, pull gently until the edges meet and the sewing yarn disappears.
The edges butt together instead of overlapping, so there is almost no ridge. It is the slowest method and the one that most rewards matching yarn.
Method 3: Slip Stitch Join
This join uses the hook you made the squares with, or one size larger. Hold two squares with right sides together. Insert the hook through the back loop of both squares, yarn over, and pull through everything on the hook. Repeat in every pair of stitches and chains along the edge.
The result is a low, firm ridge on the wrong side and a clean line on the right side. A slip stitch has very little stretch, so work loosely. If the seam is shorter than the edges beside it, it is too tight.
Method 4: Single Crochet Join
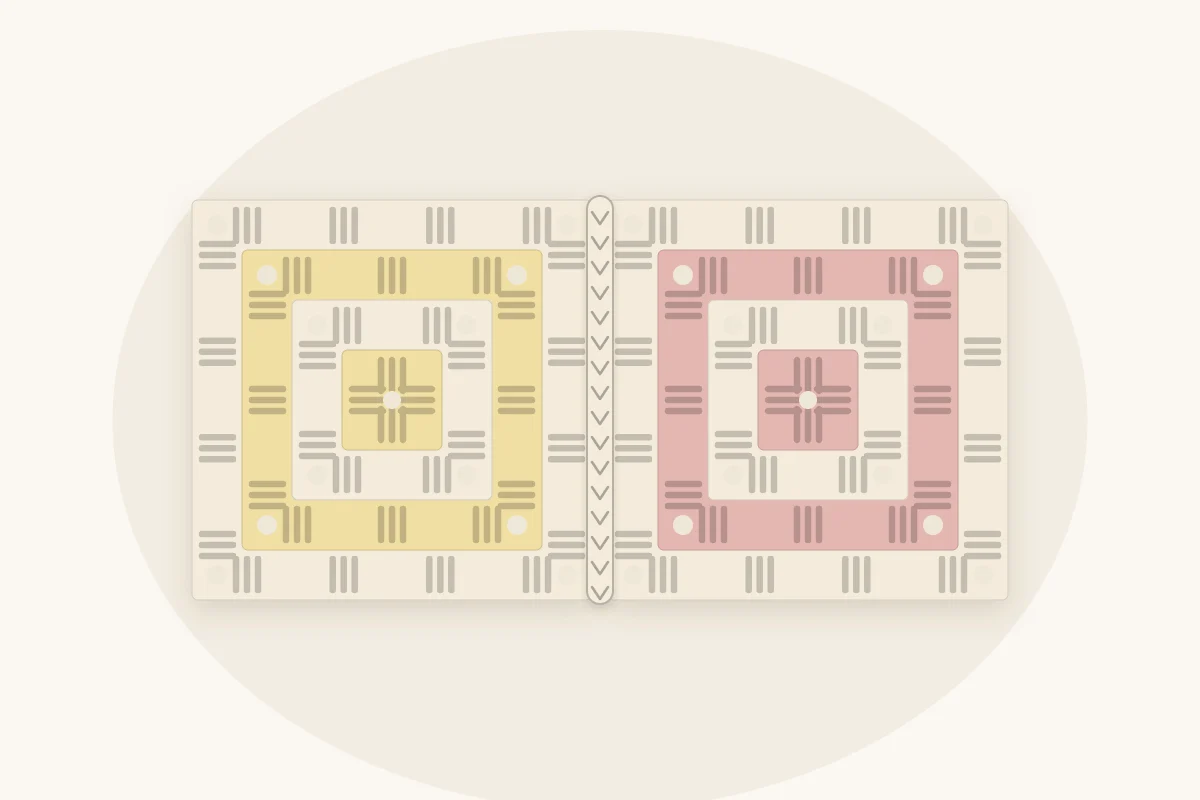
For a seam that shows on purpose, hold two squares with wrong sides together. Insert the hook through both loops of both squares, yarn over, pull up a loop, yarn over, and pull through both loops on the hook. Work one single crochet in every pair of stitches and chains.
This makes a raised ridge on the right side that outlines each square. It is quick and sturdy, and it uses more yarn than the other three methods. In a contrast color it becomes part of the design.
The Four Methods Compared
| Method | Look | Stretch | Speed | Skill |
|---|---|---|---|---|
| Whip stitch | Flat, with a fine line each side | Good | Moderate | Easy |
| Mattress stitch | Nearly invisible | Good | Slow | Moderate |
| Slip stitch | Low ridge on the back | Little | Fast | Easy |
| Single crochet | Raised ridge on the front | Some | Fast | Easy |
There is also join-as-you-go, in which each new square is attached to its neighbors while its last round is being worked, by replacing chains with slip stitches into the finished square. It removes the seaming stage, but the layout has to be fixed in advance and the squares cannot be blocked separately. It is easier to learn after you have joined one blanket the ordinary way.
Joining Order and Flat Seams
Work in two passes. First join the squares into strips, one strip for each row of the layout. Then join the strips with long seams that run the full width of the blanket, carrying the yarn straight across each junction. This means far fewer starts and stops than joining square by square.
To keep seams from puckering:
- Match stitch for stitch. If one edge runs out before the other, undo the seam and find the skipped loop.
- Handle every corner the same way. A dependable rule is to work into one chain of each chain-2 corner, which gives 17 pairs along the edge of a four-round square.
- Keep the tension even, and loose enough that the seam stretches as much as the squares do.
- Where four corners meet, do not pull tight. A snug junction draws the squares into a dimple.
Tip
Join two spare squares, or two from the stack, with each method you are considering before committing. Ten minutes of testing shows which seam suits your yarn and colors.
When the last seam is done, weave in the joining tails along the seams, then add a flat single crochet border to cover the seam ends around the outside.
Frequently asked questions
What is the easiest way to join granny squares for a beginner?
Whip stitch and the single crochet join are the two easiest. Whip stitch needs only a yarn needle and is simple to undo if the squares go out of line. The single crochet join uses a stitch you already know and is quick, but it leaves a visible raised ridge.
Should I join granny squares with the same color yarn?
Either works. Yarn that matches the final round of the squares hides uneven stitches and makes the seam recede, which suits mattress stitch and whip stitch. A contrast color turns the seam into a grid of lines and suits the single crochet join. Use the same yarn weight in both cases.
How much yarn do I need to join granny squares?
It varies with the method and the size of the squares, so treat any figure as an estimate. Sewn seams take roughly three times the seam length in yarn, and crocheted seams take more, with single crochet using the most. Join one seam, measure what it used, and multiply by the number of seams.