How to Block a Crochet Baby Blanket
Compare wet, spray and steam blocking, match the method to the yarn label, and follow a step-by-step routine for pinning a crochet blanket square and letting it dry to size.
Tutorial at a glance
Materials
- Interlocking blocking mats or thick dry towels
- Rust-resistant T-pins or blocking pins
- Tape measure
- Spray bottle with clean water, or a basin for soaking
- Clean towels for pressing out water
- Garment steamer or steam iron (only if the yarn label allows heat)
Blocking is the step where a finished blanket is dampened or steamed, shaped to its intended measurements and left to dry that way. If you want to know how to block a crochet blanket, the short version is: add moisture, pin it square, wait. The details depend on the fiber, and getting the fiber part wrong is the only real risk.
What Blocking Does
Moisture relaxes the yarn, and the fibers settle into the position they dry in. On a crochet blanket, that produces a few visible changes.
- Evens out stitches. Small differences in tension between rows become less noticeable.
- Squares the corners. Sides are brought to equal lengths and corners to right angles.
- Opens lacy stitches. Shells, V-stitches and granny clusters spread out so the pattern reads clearly.
- Flattens edges and borders. A slightly curling edge or a border that waves a little can be coaxed to lie flat.
A border that ruffles heavily or cups inward has the wrong number of stitches, and no amount of pinning will cure that. The same is true of a blanket that is far from its planned size because of gauge, which is a matter for a gauge swatch before you start.
Match the Method to the Fiber
Read the fiber content and the care symbols on the yarn label before choosing a method. The label decides whether the yarn can be soaked, what water temperature it tolerates and whether heat is allowed at all.
| Method | How much it changes the fabric | Commonly used for |
|---|---|---|
| Wet blocking | Most | Cotton, cotton blends, superwash wool, where the label allows washing |
| Spray blocking | Moderate | Acrylic, blends, any blanket that only needs light shaping |
| Steam blocking | Varies; can be permanent on acrylic | Fibers whose label allows heat, used with caution |
If you kept your swatch, block it first with the method you intend to use. A swatch shows how much the yarn relaxes and whether the texture changes, at no cost to the blanket.
Three Blocking Methods
Wet Blocking
Wash the blanket as the label directs, or soak it in a basin of cool water for 15 to 20 minutes until it is wet through. Lift it out with both hands supporting the full weight, because wet yarn stretches. Press the water out without wringing or twisting, then roll the blanket in a dry towel and press on the roll to remove more. It should be damp, not dripping, when you lay it out.
Spray Blocking
Lay the dry blanket on the mats and pin it to size first. Then mist it evenly with clean water from a spray bottle until the surface is damp throughout. Pat the fabric lightly so the water reaches into the stitches. This is the gentlest method and the easiest one for a large piece, since you never have to move a heavy wet blanket.
Steam Blocking
Pin the dry blanket to size. Hold a garment steamer or a steam iron about 1 to 2 in (2.5 to 5 cm) above the fabric and move it slowly so the steam passes through. The iron never touches the yarn and is never pressed down. Leave the blanket pinned until it is cool and dry.
Watch out
Heat can permanently flatten acrylic. The fibers soften, the stitches lose their rounded shape and the fabric turns limp and shiny, and this cannot be undone. Test steam on a swatch first, keep the steamer moving, and choose spray blocking if you are unsure.
Step by Step: Pinning a Blanket to Size
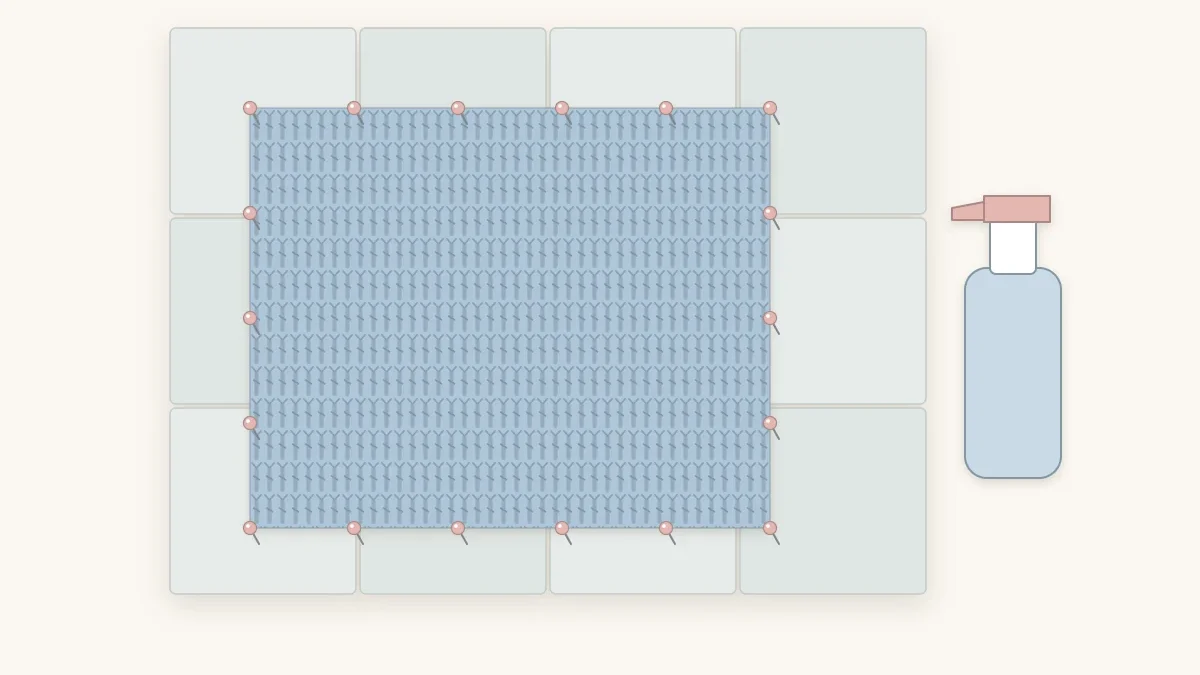
You need a flat surface larger than the blanket that pins can go into. Interlocking foam blocking mats are made for this. A clean carpet or a spare mattress covered with dry towels also works.
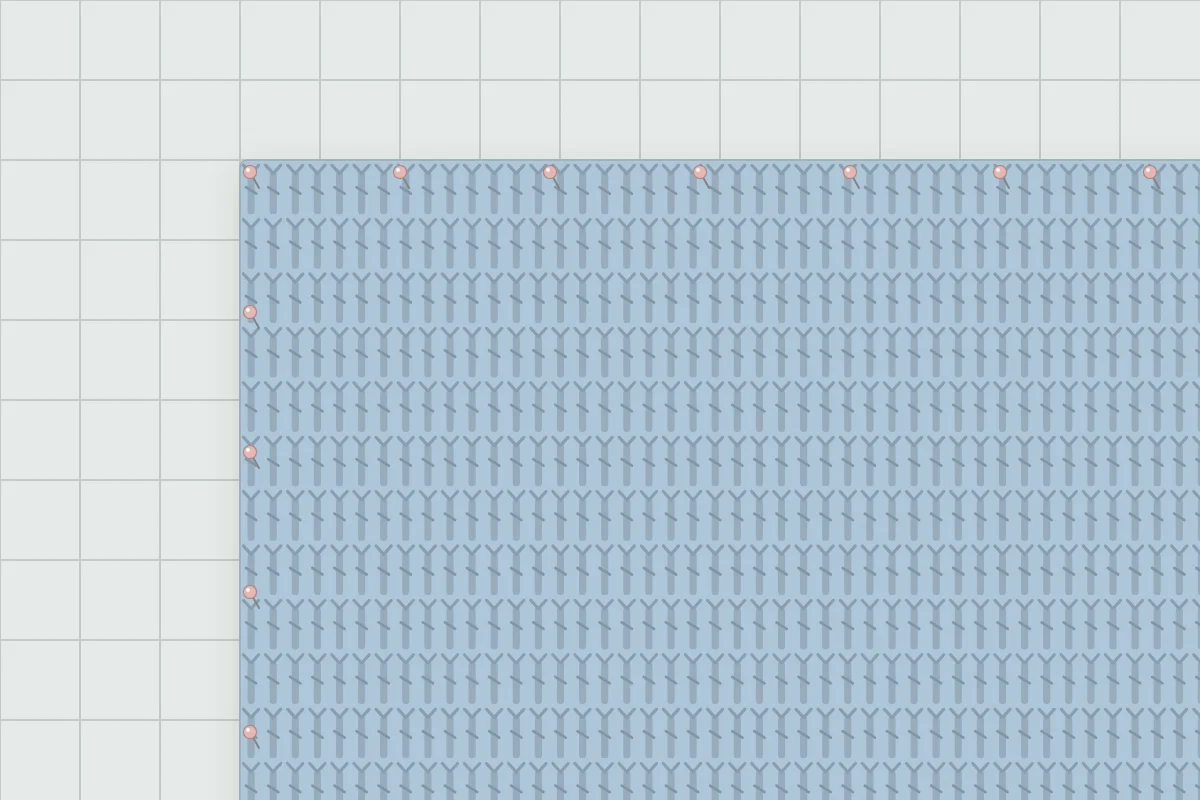
- Decide the target size. Use the measurements in your pattern or the size you planned from a blanket size chart. Measure the blanket unstretched first. A sensible target is within about 1 in (2.5 cm) of what the fabric measures on its own.
- Weave in the ends first. Tails settle into the fabric during blocking. Follow the steps for weaving in ends and leave the trimmed tips slightly long until the blanket is dry, then cut them close.
- Lay the blanket out. Spread it flat, wrong side up or right side up as you prefer, and smooth it from the center outward with your hands.
- Pin the four corners. Measure between them with a tape measure and adjust until opposite sides are equal. Check both diagonals as well: when they match, the corners are square.
- Pin the edges. Place a pin at the midpoint of each side, then halve each gap again until pins sit every 1 to 2 in (2.5 to 5 cm). Push each pin through the edge stitch at an angle leaning away from the blanket. Evenly spaced pins give a straight edge; widely spaced pins leave small points.
- Use rust-resistant pins. Stainless steel T-pins or pins sold for blocking will not leave marks on damp yarn. Ordinary sewing pins can rust.
- Let it dry completely. Leave the blanket flat until no dampness remains in the thickest parts, which can take a day or longer for cotton. Unpinning early lets the fabric spring back.
- Remove and count every pin. Count the pins as you put them in and count them again as they come out. Run your hands over both sides of the blanket before it is folded, used or given away.
Blocking Granny Squares Before Joining
For a blanket made of motifs, block each square before assembly instead of blocking the finished blanket. Squares that come off the hook at slightly different sizes can all be pinned to one measurement, for example 6 in (15 cm), and seams between equal squares lie flat.
Pin each square at its four corners and at the middle of each side, spray or steam according to the fiber, and let it dry. Once they are dry, move on to joining the granny squares.
When Blocking Is Optional
Not every blanket needs full blocking. A dense single or half double crochet blanket in acrylic, worked at an even tension, often lies flat and square straight off the hook. Washing and drying it according to the label, then smoothing it flat by hand, may be all the finishing it requires.
Blocking earns its time on open and textured fabrics, on blankets with a shaped border such as a scalloped shell edging, and on anything that will be photographed or given as a gift.
Frequently asked questions
Do acrylic blankets need blocking?
Often they do not. Acrylic changes little when it gets wet, so a plain, evenly worked acrylic blanket may only need laundering per the label and smoothing flat. Spray blocking can tidy a border or open up a lacy stitch. Steam has a stronger and permanent effect, so test it on a swatch before using it.
Can I block a blanket without blocking mats?
Yes. Any flat surface that accepts pins and can stay undisturbed while the blanket dries will do. A carpeted floor or a spare bed covered with clean, dry towels is a common substitute. Protect the surface underneath from moisture, and choose a spot where air can circulate so drying does not take too long.
How much can blocking change the size of a blanket?
Expect a small adjustment, roughly an inch in each direction for most yarns, with more movement in open stitches and natural fibers than in dense acrylic fabric. Stretching a blanket far past its relaxed size distorts the stitches and usually does not last through the next wash. Larger corrections belong at the gauge stage.