How to Weave In Ends and Finish a Crochet Blanket
Fasten off, leave a 6 in tail, and weave each end through the back of the stitches in three directions so it locks. Includes open stitches, color matching and final checks.
Tutorial at a glance
Materials
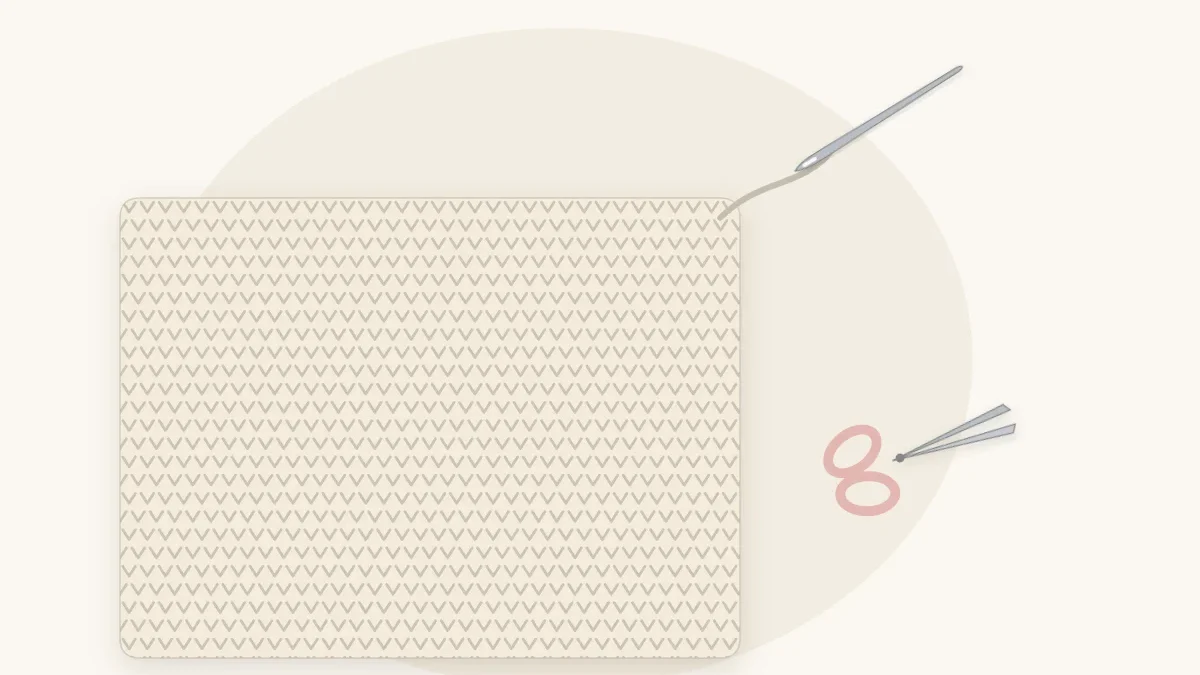
- Blunt yarn needle with an eye large enough for the yarn
- Small sharp scissors
- The finished blanket with tails of about 6 in (15 cm)
- A flat, well-lit work surface
Every crochet blanket ends with a handful of yarn tails, and a striped or granny square blanket ends with dozens. Knowing how to weave in ends so that they stay put is what separates a blanket that still looks tidy after many washes from one that sprouts loose strands after the first.
Fasten Off Correctly
Finishing starts with the last stitch. When the final stitch is complete, cut the yarn about 6 in (15 cm) from the hook. Yarn over, pull the cut end all the way through the loop on the hook, and tug it gently until the loop closes down against the stitch.
The 6 in length matters. A shorter tail is awkward to thread and does not leave enough yarn to change direction. If you find a tail that was cut too short, the last section of this guide has a workaround.
Tools for Weaving In
You need a blunt yarn needle, also sold as a tapestry or darning needle, with an eye large enough for your yarn. The rounded tip slides between strands without piercing them unless you want it to.
Weave in Three Directions
A tail run in one straight line can slide back out the way it went in. A tail that travels out, back and across has to overcome three changes of direction first.
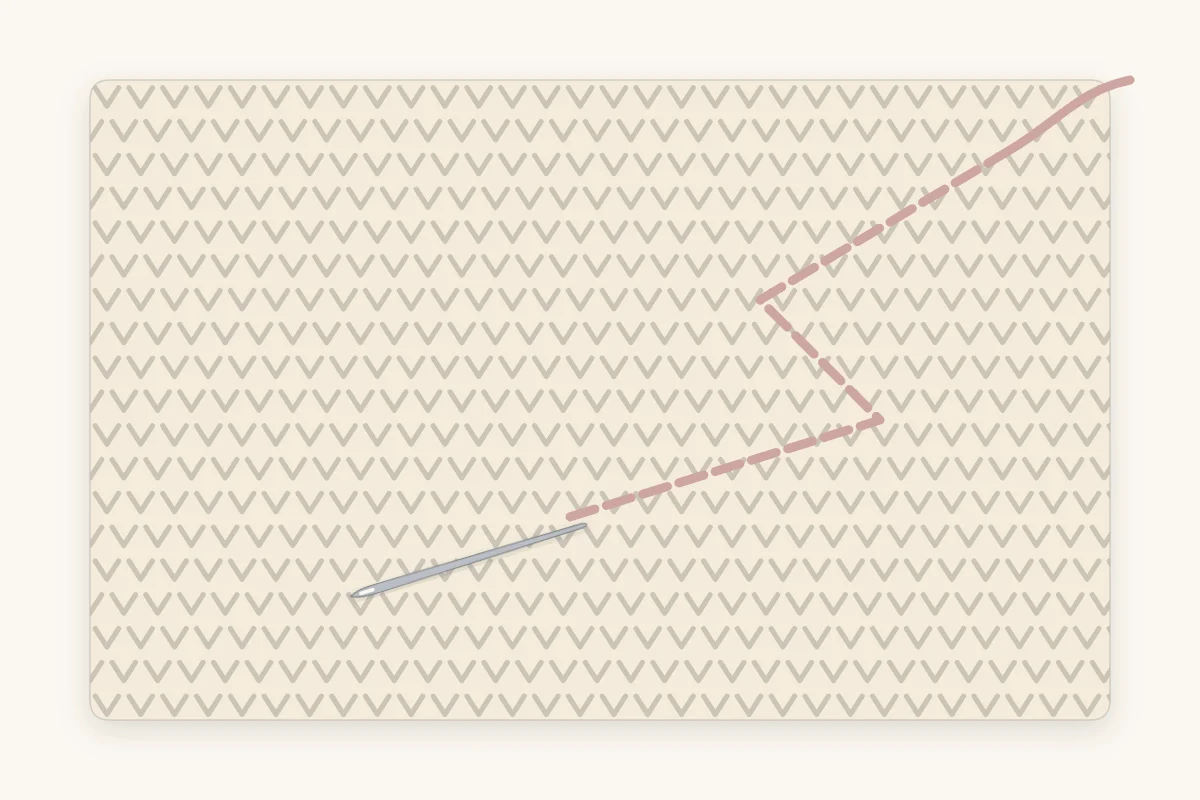
- Out. Thread the tail onto the needle. Slide the needle sideways through the back of the stitches along the row for about 1.5 to 2 in (4 to 5 cm), catching only the strands on the wrong side. Pull the yarn through until it lies flat without gathering the fabric.
- Back. Skip the last strand the yarn passed under, so the tail has something to wrap around, and run the needle back toward the starting point through the same row for about 1 in (2.5 cm). Take a slightly different path from the first pass.
- Across. Turn the needle to run up or down through the posts of the stitches, at a right angle to the first two passes, for another 1 in (2.5 cm).
- Settle. Stretch the fabric gently in both directions around the woven area. This lets the tail find the length it needs, so the blanket does not pucker there later.
- Trim. Cut the remaining yarn close to the surface.
Splitting the Plies
Most yarn is made of several thinner strands, called plies, twisted together. On the second or third pass, push the needle through the middle of a few strands of yarn instead of under them. The tail is then gripped by the fibers of the fabric itself, which adds friction. This is especially useful with smooth yarns such as cotton and bamboo-viscose blends, which hold tails less firmly than acrylic or wool.
Keep Each Tail in Its Own Color
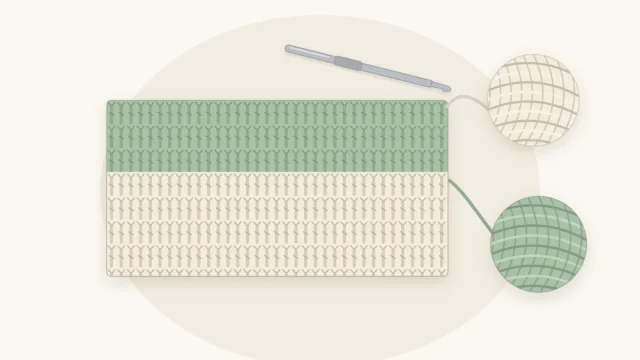
Weave every tail into stitches of the same color. A dark tail run under a light stripe shows through as a shadow on the right side. At a color change, send the old tail down into its own stripe and the new tail up into the new one, as described in the guide to changing colors in crochet.
Trimming Without Cutting the Fabric
Hold the tail upright with slight tension, lay the scissor blades flat against the fabric, and snip. When you let go, the cut end draws back just inside the stitches. Keep the scissor tips in view so they never catch a strand of the blanket itself.
Why Knots Alone Are Not Enough
It is tempting to tie a tight knot and cut the yarn short. Knots have three drawbacks in a blanket. They make hard lumps in the fabric. They tend to migrate to the right side. And a knot in smooth yarn can loosen with repeated washing and wear, at which point a short cut end has nothing else holding it.
A woven tail does not depend on one point. Friction along its whole length keeps it in place, which is why weaving is the method to rely on.
Ends in Open Stitches
Granny clusters, V-stitches and other open patterns have gaps a tail must not cross, because a strand running across an open space is visible from both sides and can catch.
Follow the solid parts of the fabric instead. Run the needle down through the post of a stitch, sideways through the base of the cluster or along the top of the row below, and then up through a neighboring post. In a granny square blanket, that usually means traveling through one three-stitch cluster, turning, and coming back through the next.
Weave as You Go or at the End
Both approaches work.
- As you go. Weave the tails after every few stripes or every few squares. The job never piles up, and you can see problems early. This is the practical choice for a striped baby blanket or any design with many color changes.
- At the end. Leave everything until the blanket is complete. This suits one-color blankets with only a few joins, and it lets you rip back freely without unpicking woven tails.
One timing rule applies either way: weave in the tails along the outer edges before you add a border. A simple border worked over loose tails traps them at an odd angle and makes them hard to secure afterward.
Final Checks Before the Blanket Is Finished
Baby blankets are washed often, and washing is what tests the finishing. A few minutes of checking is worth it.
- Count the tails. Work out how many there should be: two for the start and finish, two for every place you joined a new ball or changed color with a cut. Then go over the wrong side row by row and confirm each one is woven.
- Tug test. Stretch the fabric firmly around each woven area. If an end pops out, it needs a longer path or a split-ply pass.
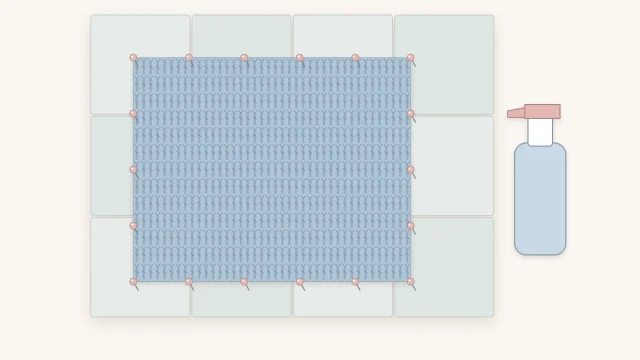
- Wash and block. Launder the blanket as the yarn label directs, then shape it. The guide to blocking a crochet blanket covers the methods.
- Check again when dry. Look over both sides for any end that has worked free, and re-weave it.
Watch out
A tail cut too short to thread is still fixable. Insert the empty needle along the path first, leaving the eye next to the tail, then thread the short end through the eye and pull the needle through. For anything under about 2 in (5 cm), rip back a few stitches to gain more length instead.
Frequently asked questions
How long should a yarn tail be for weaving in?
About 6 in (15 cm) is a practical minimum. That gives enough yarn to thread the needle comfortably and still travel roughly 4 in through the fabric in three directions. Slippery yarns such as cotton or bamboo-viscose blends benefit from an inch or two more, because they need a longer woven path to hold.
Can I just crochet over the tails instead of weaving them?
Crocheting over a tail hides it and saves time, but the tail lies in a straight line and can slide out when the fabric stretches. Use it as the first pass only. Leave a couple of inches free at the end, then thread that onto a needle and sew it back in the opposite direction.
Which side of the blanket do the ends go on?
Weave on the wrong side, meaning the side that will be treated as the back. Many simple stitch patterns look nearly the same on both faces, so choose one side for all tails and stay with it. Keeping the weaving shallow, through the back strands only, stops it from showing on the front.