Corner-to-Corner (C2C) Baby Blanket Pattern
A full corner-to-corner pattern in double crochet blocks: exact increase and decrease rows, a block count you can check, a rectangle option, and how to stop at any size.
Tutorial at a glance
Materials
- Worsted weight (#4 medium) yarn, about 950-1,150 yd
- US H-8 (5 mm) crochet hook
- Blunt yarn needle
- Scissors
- Tape measure
- One stitch marker
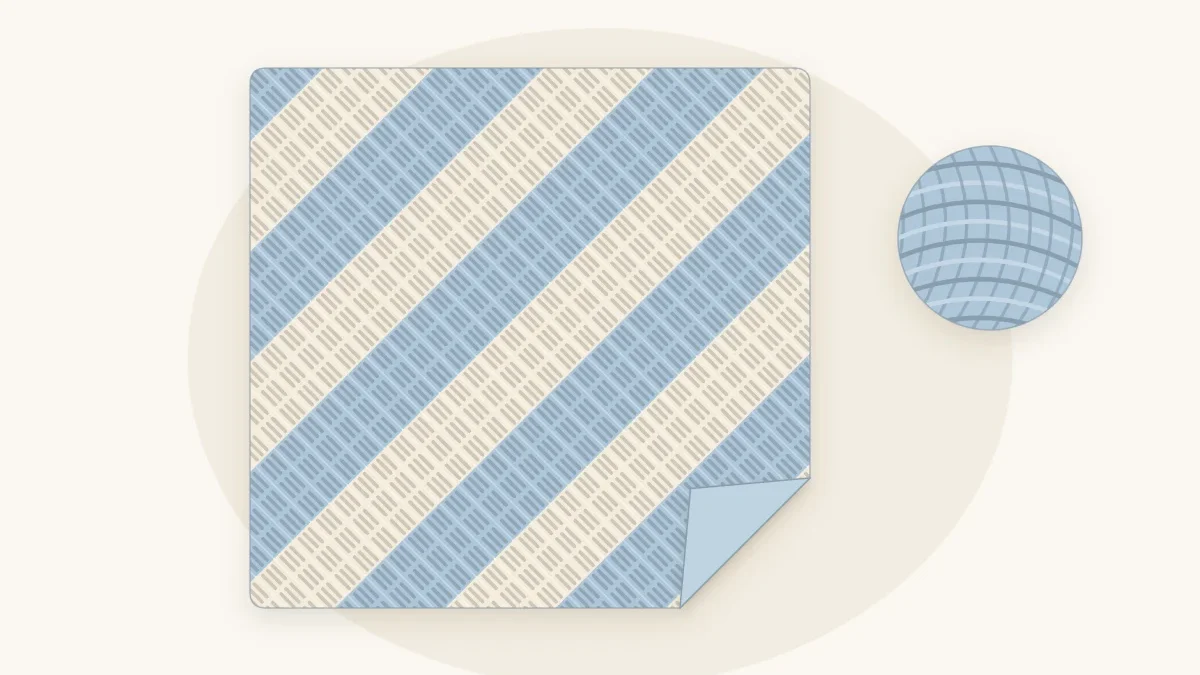
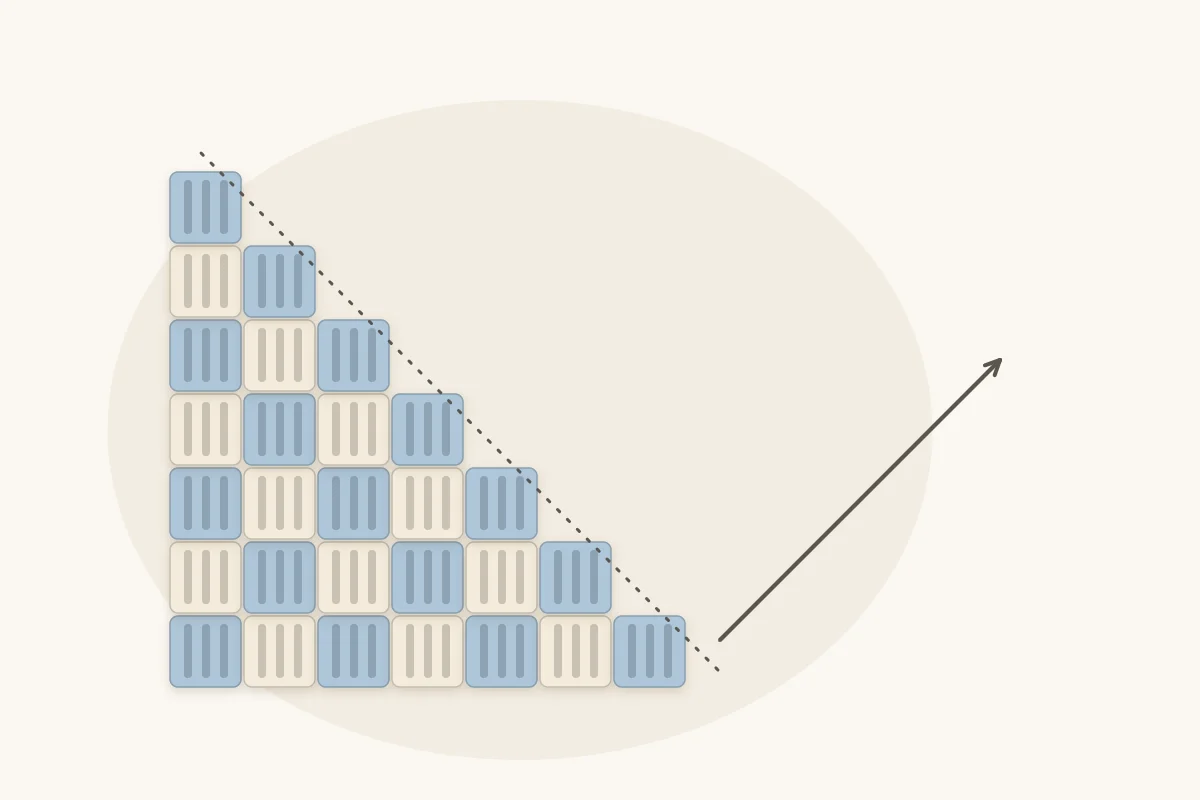
A corner-to-corner baby blanket starts with a single small block in one corner and grows diagonally, one block wider on every row, until the sides are as long as you want. Then each row loses a block until the work closes at the opposite corner.
This is the standard C2C method in double crochet blocks. It is rated intermediate: the stitches are basic, but the tilted blocks take a few rows to get used to. The pattern is written in US crochet terms.
Materials
- Worsted weight (#4 medium) yarn, about 950-1,150 yd (870-1,050 m)
- US H-8 (5 mm) crochet hook
- Blunt yarn needle
- Scissors and a tape measure
- One stitch marker
The yarn amount is an estimate. It depends on your gauge and on the border you add, so buy a little extra from the same dye lot.
Finished Size
About 32 x 32 in (81 x 81 cm) before the border. A rectangle option follows the main instructions.
Gauge
5 blocks = 4 in (10 cm), measured along a straight side edge. Matching this target matters for the finished size and for how much yarn the blanket uses.
The first 8 rows of the blanket work as a swatch. Lay the triangle flat and measure 5 blocks along one straight side. At this gauge, 32 in x 1.25 blocks per inch = 40 blocks on each side.
Abbreviations
- ch – chain
- dc – double crochet
- sl st – slip stitch
- sp – space
- st(s) – stitch(es)
Pattern Notes
- One block is a ch-3 and 3 dc. The ch-3 counts as part of the block, and the gap under it is the ch-3 space where a later block is anchored.
- Rows run diagonally. During the increase, the row number equals the block count.
- If double crochet is new to you, practice it in plain rows first.
Instructions
Increase Rows
Row 1: Ch 6. Dc in the 4th ch from the hook and in each of the next 2 ch. (1 block)
Row 2: Ch 6, turn. Dc in the 4th ch from the hook and in each of the next 2 ch. This is a new block. Sl st into the ch-3 sp of the Row 1 block, the gap beside its 3 dc. Ch 3, 3 dc in the same sp. (2 blocks)
Row 3: Ch 6, turn. Dc in the 4th ch from the hook and in each of the next 2 ch. *Sl st in the ch-3 sp of the next block, ch 3, 3 dc in the same sp; repeat from * across. (3 blocks)
Rows 4-40: Repeat Row 3. Each row gains one block. Stop when the row has 40 blocks, or when each straight side measures about 32 in (81 cm).
Decrease Rows
Row 41: Ch 1, turn. Sl st in each of the 3 dc just made and into the ch-3 sp of that same block. Ch 3, 3 dc in the same sp. *Sl st in the ch-3 sp of the next block, ch 3, 3 dc in the same sp; repeat from * until one block of the row below remains. Sl st in the ch-3 sp of that last block and stop. Do not make a block there. (39 blocks)
Rows 42-79: Repeat Row 41. Each row loses one block. Row 79 has 1 block.
Fasten off, leaving a 6 in (15 cm) tail.
Check the Count on a Small Sample
Work a square of 3 blocks per side. Rows 1, 2 and 3 are increase rows with 1, 2 and 3 blocks: each adds one new block at the start and puts a block in every space. Rows 4 and 5 are decrease rows with 2 and 1: no new block at the start, and only a slip stitch in the last space. That is 1 + 2 + 3 + 2 + 1 = 9 blocks, which is 3 x 3. The full blanket has 79 rows and 40 x 40 = 1,600 blocks.
Watch out
If an increase row has the same number of blocks as the one before, the block in the last ch-3 space was missed. In a decrease row the opposite mistake is common: a block made in the last space, which keeps the row from shrinking.
Making a Rectangle
For a rectangle, increase until the short side is long enough, then keep the block count level before decreasing. For about 30 x 36 in (76 x 91 cm) at this gauge, that is 38 blocks by 45 blocks.
- Work increase rows through Row 38 (38 blocks). Mark the edge where Row 38 ended. This edge stops growing.
- Row 39: Begin as a decrease row (ch 1, turn, sl st across the 3 dc and into the ch-3 sp), work blocks across, and end as an increase row, with a block in the last ch-3 sp. (38 blocks)
- Row 40: Begin as an increase row (ch 6, turn, new block), work blocks across, and end as a decrease row, with only a sl st in the last ch-3 sp. (38 blocks)
- Repeat Rows 39 and 40 through Row 45. The number of level rows is the difference between the two sides: 45 – 38 = 7.
- From Row 46, work decrease rows until 1 block remains (Row 82).
Rows that start at the marked edge begin with slip stitches; rows that start at the other edge begin with ch 6.
Why You Can Stop at Any Size
At the end of any increase row, the work is a triangle with two equal sides. Start decreasing on the next row and it becomes a square of that side length.
This helps when the yarn amount is uncertain. The decrease half of a square has slightly fewer blocks than the increase half, because the longest row belongs to the increase: for 40 blocks per side, 820 going up and 780 coming down. If at least half of your yarn is left when you begin to decrease, there is enough to finish the square at the same tension. Keep some aside for the border, and see how much yarn a baby blanket needs for a fuller estimate.
Finishing
Weave each tail through the bases of the double crochets in at least three directions, then trim. The method is in the guide to weaving in ends.
A flat border smooths the slightly stepped edges. Work a round of single crochet with about 3 stitches per block and 3 in each corner; see the simple single crochet border. A C2C piece can come out a little skewed, so blocking the blanket to square, following the care label, helps.
Frequently asked questions
Why is my C2C piece curling or looking lopsided at the start?
The first few rows are too small to lie flat and usually curl. It normally flattens as the triangle gets larger. If it stays lopsided, check that every increase row begins with chain 6 and that the slip stitch goes into the chain-3 space, not into the top of a stitch.
How do I add stripes to a C2C blanket?
Change color at the end of a row. Work the last double crochet of the row until two loops remain, pull the new color through, then turn and begin the next row as usual. The stripes run diagonally. Rows near the middle are the longest, so they use the most yarn.
Do I measure a C2C blanket along the diagonal?
No. Measure along one of the two straight side edges, from the starting corner to the end of the current row. That is the side length the finished square will have. The diagonal row itself is longer than the side, so measuring it would make you start decreasing too early.